How to mount a security camera on a pole
Pole mounting looks simple until the camera is pointing at the sky in the first storm. Here is how pole adapters work, which parts to use for Hikvision, Dahua and Uniview, and why wind load decides the bracket.
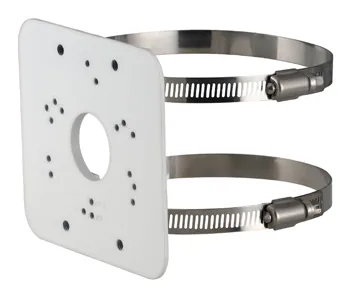
A camera on a pole seems like the easy install: strap it on, aim it, done. Then the first real wind comes through and the picture is pointing at the neighbour’s roof, or the whole thing has slid a quarter turn. Poles are the least forgiving surface you will mount to, so it is worth doing properly.
What a pole mount actually is
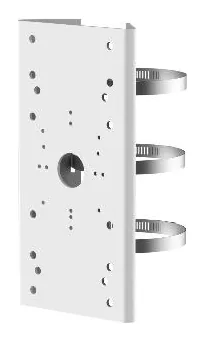
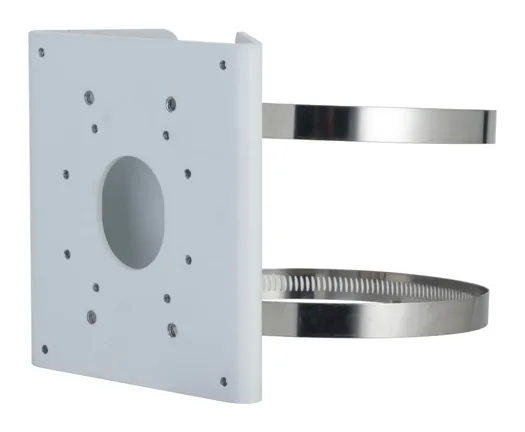
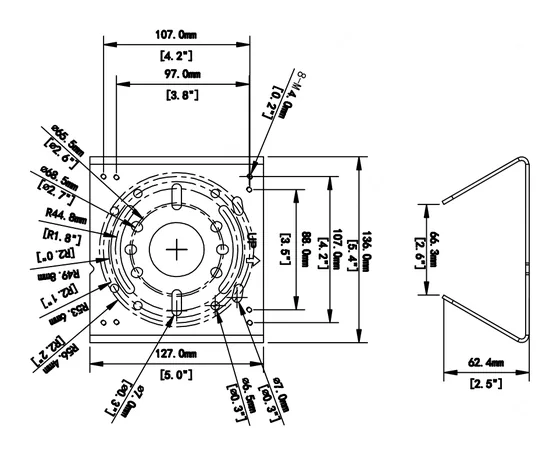
A pole-mount adapter is not usually a full arm. It is a plate with a curved back and two stainless band clamps (hoops) that wrap around the pole and pull the plate tight against it. The camera, or more often the camera’s junction box or wall arm, then bolts to the front of that plate. So a pole install is frequently two parts: the pole adapter, plus whatever normally holds the camera.
The band-clamp design is why the adapter can fit a range of pole diameters, and also why it can creep if you under-tighten it. Snug is not enough on a windy site.
The parts to reach for
Each brand has a pole adapter that fits far more cameras than the rest of its range, so start there:
- Hikvision: the stainless DS-1275ZJ-SUS is the single most widely compatible pole adapter Hikvision makes. Pole mounts hub.
- Dahua: the PFA152-E pairs a small aluminium plate with stainless hoops and fits more Dahua families than any other accessory. For heavier cameras step up to the 5 kg PFA156. Pole mounts hub.
- Uniview: the galvanised TR-UP06-IN, with TR-UP06-C-IN as a common variant. Pole mounts hub.
Why wind load, not just weight, picks the bracket
On a wall, a camera’s weight pulls straight down. On a pole, the camera sits out on a bracket and catches wind from every direction, so the load on the fixing is dynamic and multiplied by the length of the arm. This is exactly the situation our 3x safety-factor guide is written for: take the camera weight, multiply by three, and make sure the pole adapter and any arm are comfortably above it. A 1 kg camera on a long arm in an exposed spot is a job for the heavier-duty part, not the lightest one that “fits”.
A short field checklist
- Stainless or galvanised hardware. Poles are outdoors by definition. The stainless variants (the
-SUSHikvision parts, the stainless hoops on the Dahua plate) exist for a reason. - Match the adapter to the camera, then to the pole. Confirm the camera lists the adapter on its datasheet, and check the clamp range covers your pole diameter.
- Plan the cable. You will usually want a junction box between the camera and the plate so the cable and connector are protected. See choosing a junction box.
- Torque the clamps properly and re-check. The number-one pole failure is a clamp that was “hand tight” and crept.
Pick your brand’s pole hub above, open the adapter, and the page will show every camera the manufacturer lists it for, with the weight check already done. If you are mounting a bullet specifically, the form-factor guide covers how its integrated arm changes the setup.
Parts featured in this guide
Explore the datasheet-verified data
Everything in this guide is backed by the parts we index. Jump straight in: